Today, I want to talk to you about a topic that might not be the first thing that comes to mind when you think about blenders: sharpening the blades. Yes, you heard that right! Taking care of your Ninja blender blades is crucial to maintain the efficiency and effectiveness of your blender.
You see, over time, the blades of your Ninja can become dull and ineffective. This can result in longer blending times, uneven texture in your smoothies, and overall frustration in the kitchen. Nobody wants that, right?
By sharpening the blades of your blender regularly, you can ensure that your blender works at its optimal performance level. Not only will this save you time in the kitchen, but it will also ensure that you get smooth, consistent results every time you use your blender.
Now, you might be wondering, how do I sharpen my ninja blender blades? Well, fear not! I’ve got you covered.
Wrap Up For You:
One way to sharpen your blender blades is by using a sharpening stone or a knife sharpener. Gently run the stone or sharpener along each blade, maintaining a consistent angle. Be careful not to apply too much pressure, as you don’t want to damage the blades. After a few passes, your blades should be sharper and ready to go.
Another method you can try is using aluminum foil. Simply fold a sheet of aluminum foil a few times to create a thick, but flexible, pad. Turn on your blender and place the foil pad inside. Let it run for about 30 seconds to a minute. The foil will help to sharpen the blades as it rubs against them.
Remember, regular maintenance and care are key to keeping your blender in top shape. So, don’t forget to clean your blender blades thoroughly after each use and always handle them with care.
Tools and Preparations for Sharpening Ninja Blender Blades
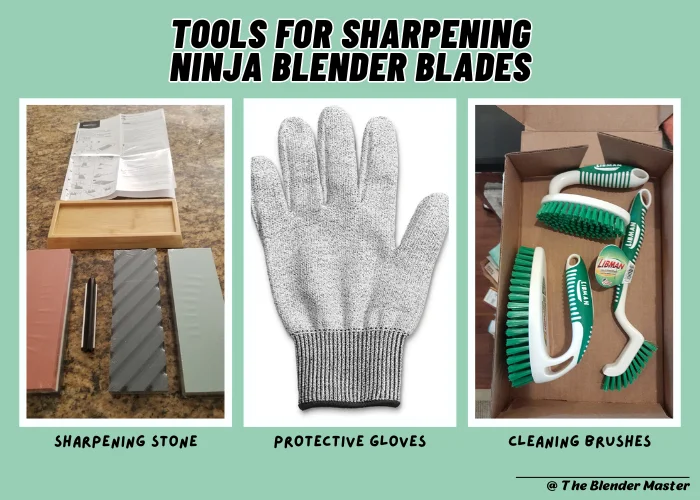
Before we get started, let’s make sure we have everything we need:
Now that we have our tools ready, let’s move on to the preparations.
Steps to prepare for blade sharpening
Now that your blades are clean and ready, it’s time to move on to the actual sharpening process. Remember to follow the instructions provided with your sharpening stone or knife sharpener for the best results.
FURTHER READING: How To Clean Ninja Blender: A Simple But Handful Guide
Sharp Ninja Blender Blade Using a Basic Knife Sharpener
FURTHER READING: How To Turn On Ninja Blender: Learn and Blend
Sharp Ninja Blender Blade Using a Whetstone
Reassembling and Testing
Now that we’ve gone through the process of sharpening the blades of your Ninja blender using a whetstone, it’s time to reassemble them and put them to the test. Follow these steps to ensure proper reassembly and testing of your newly sharpened blades.
Now carefully reassembling the blades. Refer to the picture or notes you took earlier to ensure they are put back correctly. It’s important to assemble them in the right order to avoid any issues when using the blender.
Once the blades are securely attached, take a moment to inspect them. Make sure they are aligned properly and there are no loose parts. This will ensure smooth and efficient blending.
Plug your Ninja blender back in and give it a quick spin to make sure everything is working correctly. Listen for any unusual sounds or vibrations that might indicate a problem. If everything seems normal, you’re good to go!
It’s time to put your newly sharpened blades to the test. Start with a simple blending task, like making a smoothie or pureeing some fruits. Pay attention to the performance of the blades. You should notice a significant improvement in their effectiveness compared to when they were dull.
While using the blender, keep an eye out for any issues such as overheating or the blades getting stuck. If you experience any problems, stop immediately and recheck the assembly of the blades. It’s possible that they may not have been reassembled correctly.
FURTHER READING: Debunking Myths: Does Blending Fruit Destroy Fibre And Nutrients?
Benefits of Sharpen Ninja Blender Blades
Knowing how to sharpen your blender blades comes with several benefits:
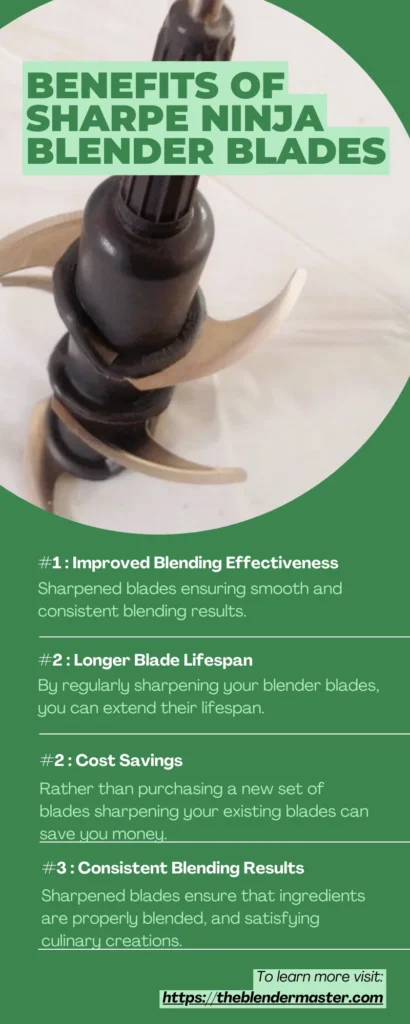
#1: Improved blending effectiveness
Dull blades can struggle to blend ingredients properly, resulting in uneven textures and lumpy mixtures. Sharpened blades, on the other hand, effortlessly break down ingredients, ensuring smooth and consistent blending results.
#2: Longer blade lifespan
By regularly sharpening your blender blades, you can extend their lifespan. Sharp blades require less effort and strain on the motor, reducing the risk of wear and tear and potential damage.
#3: Cost savings
Rather than purchasing a new set of blades or even a new blender, sharpening your existing blades can save you money. It’s a cost-effective solution that allows you to maintain the performance of your blender without breaking the bank.
#4: Consistent blending results
Sharpened blades ensure that ingredients are properly blended, resulting in more consistent and satisfying culinary creations. Whether you’re making smoothies, soups, or sauces, sharp blades will give you the desired texture and consistency.
Remember, properly reassembling and testing your sharpened blades is just as important as the sharpening process itself. Take the time to ensure that the blades are aligned correctly, inspect for any loose parts, and test the blender before using it for your blending needs.
Now that you have the knowledge and skills to sharpen your Ninja blender blades, you can enjoy the benefits of improved blending performance and cost savings. So, go ahead, get those blades sharpened, and blend your way to delicious and smooth concoctions!


Leave a Reply