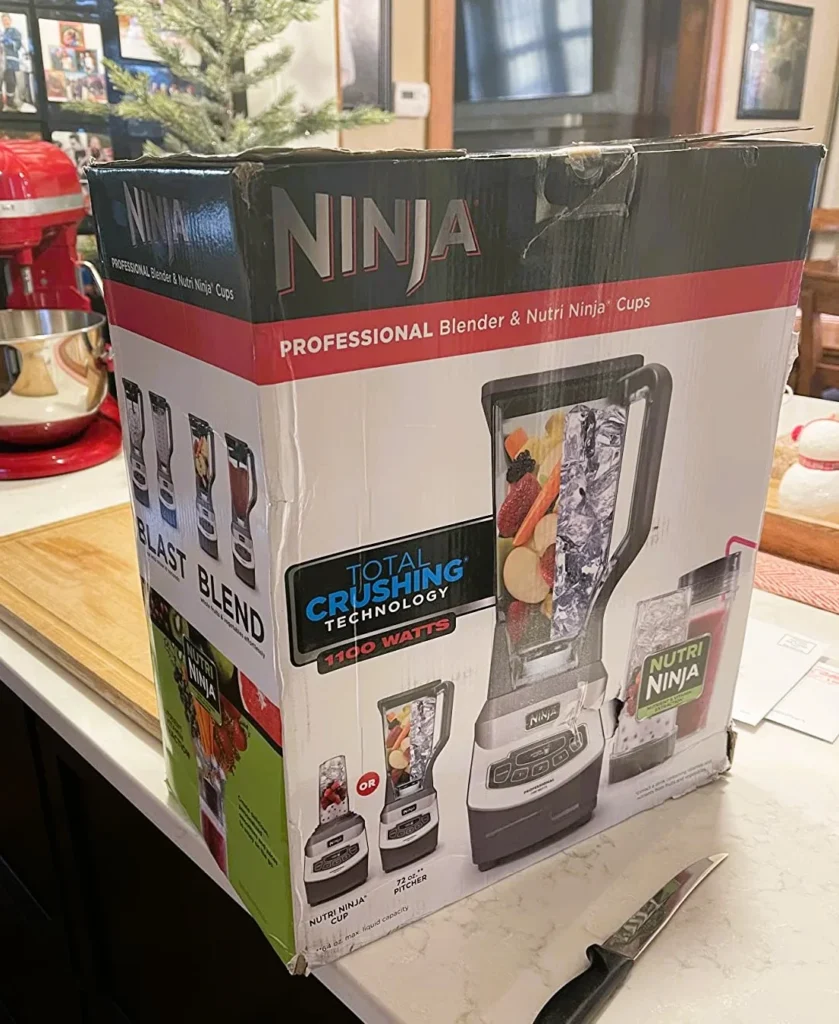
Just got your new Ninja blender home and eager to try it out, but can’t seem to figure out how to turn the darn thing on? Don’t sweat it. You’re not alone. With all those buttons and settings, Ninja blenders may look complicated at first glance, but learning how to use one is pretty straightforward. I felt just as confused when I first took my Ninja out of the box. Luckily, after reading the manual and tinkering with the controls, I’ve got the startup process down pat.
Let’s start this ninja adventure together, so grab your blender!
How To Turn On Ninja Blender: Step-By-Step Guide
Step 1: Get the Blender ready
The first step in our blending adventure is preparing your trusty blender for action.
- Clean and Dry: Start with a clean and dry blender, including the blender jar, lid, and blades. Nobody likes a soggy start to their blending adventure, right? Learn how to clean your Nijna Blender in this guide.
- Power Cord Check: Examine the power cord for any damage. If it’s showing signs of wear and tear, don’t risk it – reach out to the customer support heroes for assistance.
- Sturdy Platform: Find a stable and level surface for your blender to stand on. Think of it like picking the perfect stage for your favorite plant – no wobbly dance moves here.
- Give it Space: Ensure the blender is positioned away from flammable materials or other heat sources. It might get a little toasty during the blending action, so safety first, always!
Step 2: Assemble the blades
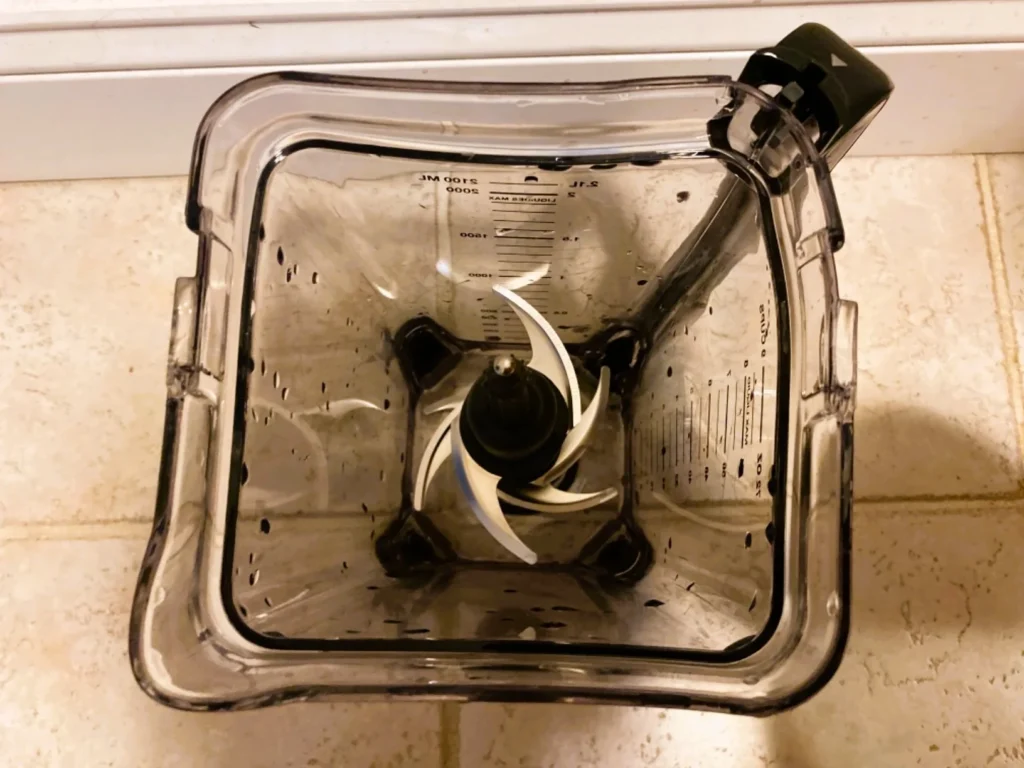
Alright, the next ninja move in our blending adventure: assembling the blades. This is where we make sure everything is ready to chop, blend, and puree like a pro.
- Safety First: Before you dive into blade assembly ninja-style, make sure your blender is turned off and unplugged. We don’t want any unexpected blender surprises, do we?
- Align and Insert: Now, grab your trusty blender jar and carefully align the blade assembly at the bottom. Different Ninja Blender models might have different blade setups, but the drill remains the same.
- Twist and Secure: Give it a gentle clockwise twist to make sure it’s securely in place. We’re not looking for any ninja-blender acrobatics during the blending show.
- Double-Check: Take a second to double-check that the blades are snug and properly aligned. A little jiggle test can confirm it’s all good to go.
Be Aware: These blades are the real deal, and they mean business, so handle them with care. No direct contact with those sharp edges, please. Take your time to assemble them correctly, and you’ll be on your way to safe and efficient blending like a pro.
Step 3: Connect the Blender to the power source
It’s time to give our Ninja Blender the power it needs. Let’s get that baby plugged in and ready to roll.
- Outlet Hunt: Scout the area for a friendly electrical outlet that can handle our blender’s power needs. It’s like finding a parking spot for your blender.
- Power Cord Check: Grab that power cord and give it a quick once-over. Make sure it’s in tip-top shape, has no visible damage, and has no frayed wires. If you spot any issues, don’t mess around – contact the trusty customer support team for help.
- Plug It In: Now, the moment of truth – insert the power cord into its designated outlet. Make sure it’s a snug fit, like putting the last piece in a puzzle. We’re aiming for a secure connection here.
- Light It Up: When your blender is plugged in, the power indicator light shines bright. That little glow tells you it’s ready to rumble and has all the electrical power it needs.
Remember, safety first! Be mindful of where that power cord is hanging out. We don’t want anyone tripping over it or accidentally pulling it out. With the blender all powered up, you’re on your way to blending brilliance. Ninja moves, here we come!
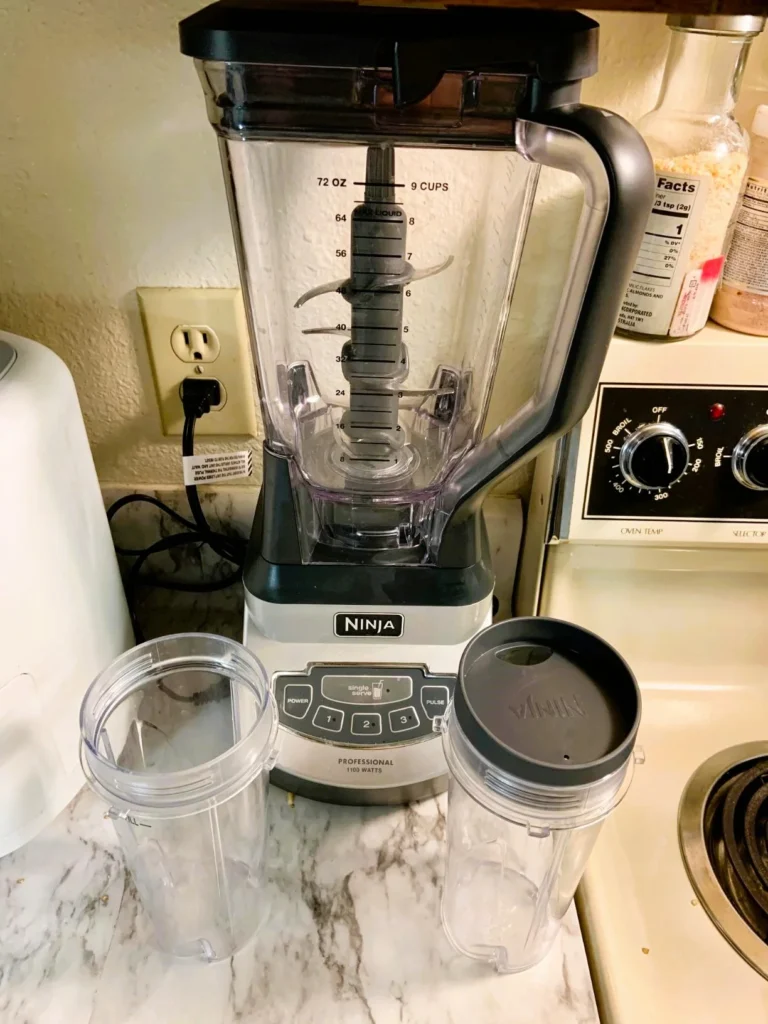
Step 4: Ensure the Blender Jar is tightly secured
With your blender all powered up, let’s make sure that blender jar is locked and loaded, ready for some blending magic.
- Jar Placement: Pop that blender jar right on top of the base, like you’re placing the crown on the blender kingdom. Make sure it’s completely lined up with the middle of the base. If it’s not, the Ninja blender will leak.
- Twist and Lock: Now, with a little twist, rotate the jar clockwise until you feel a satisfying click or the jar locks into place. It’s like turning the key to your blending kingdom – click, and voilà!
- Tug Test: Give the jar a gentle tug. We’re not testing its strength, but we want to make sure it’s securely attached to the base. It should stay put, no wobbling or loosey-goosey moves.
- Lid Double-Check: Speaking of keeping things in check, don’t forget to tighten that lid. We don’t want any surprise spills or leaks during our blending party. It’s like securing the castle gates – no intruders allowed.
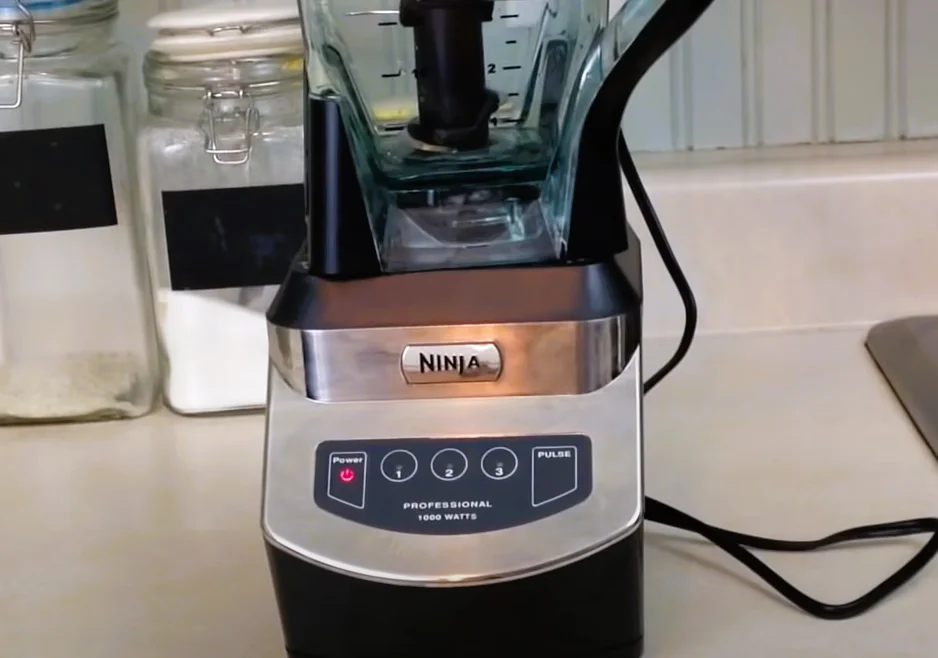
Step 5: Select the desired speed and power up
We’re getting closer to blending nirvana, folks! With the blender jar securely in place, it’s time to crank up the speed and power. Get ready to blend like a pro!
Select the Desired Speed:
- Speed Control Search: First things first, let’s locate the speed control options on your Ninja Blender. It’s like finding the perfect gear for your blending adventure. Look for dials or buttons labeled with different speed levels.
- Recipe Reference: Now, peek at the recipe or instructions you’re following. They’re your blending compass, pointing you to the right speed. Common choices include low, medium, high, and pulse. Think of it as choosing the right dance tempo for your blending party.
- Speed Selection: Turn the dial or press the button that matches your desired speed. It’s like tuning in to your favorite radio station. Make sure the speed setting matches your blending needs. We don’t want a slow dance when it’s time to salsa!
- Special Features: Keep an eye out for any extra features or specialty modes on your Ninja Blender. Some blenders have superpowers like crushing ice, making the smoothest smoothies, or becoming a food processing wizard.
- Adjust as You Go: As you blend, don’t be shy to tweak the speed setting if needed. It’s like adjusting the volume on your favorite song – we want it just right for the ultimate blend-a-palooza.
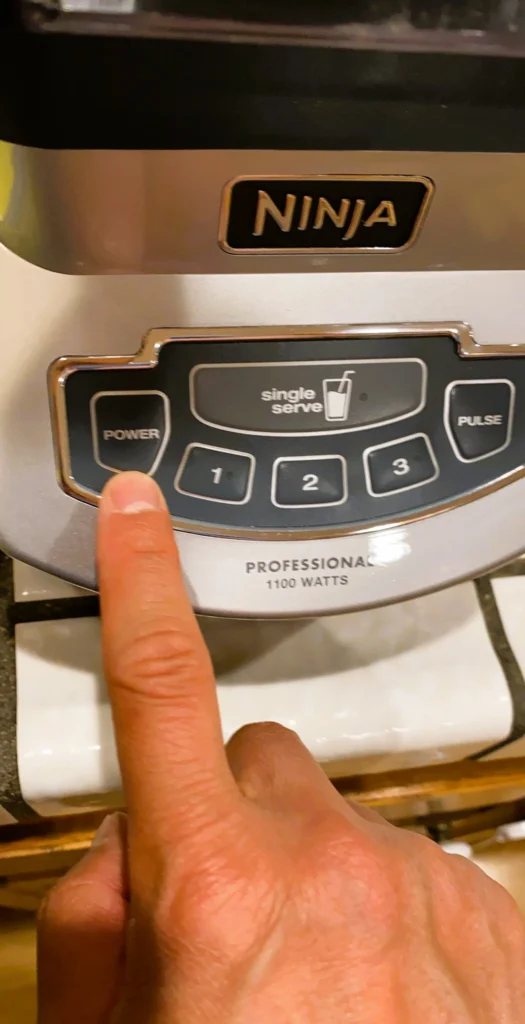
Power Up the Blender:
- Find the Power Button: Now, let’s track down that power button. It’s like the ignition key to your blending adventure.
- Check the Setup: Ensure your blender jar is sitting pretty on the base, and the lid is locked and loaded. We don’t want any rogue ingredients joining the blending party.
- Push the Button: It’s time for the magic moment! Press that power button firmly. Think of it as starting the engine of a finely-tuned sports car – the blender’s motor springs to life.
- Confirm It’s Alive: Keep an eye on the blender’s control panel or display to make sure it’s all systems go. You might even hear the motor’s gentle purr as it awakens.
With the blender all powered up, you’re now in the driver’s seat, ready to watch your ingredients transform into delicious creations. It’s like witnessing kitchen alchemy before your very eyes.
Reasons Why Your Ninja Blender Blinking Red and Won’t Turn on: Follow the Solution
For some reason, your Ninja Blender won’t turn on even after you’ve learned how to do it. The Ninja Blender power button is blinking red. These are the reasons why this happens.
- Align the Lid and Handle: Just like flicking on a light switch, align the lid and handle by matching the arrows. When they point to each other, your Ninja Blender will be ready to roll.
- Lock Down the Lid: Give your lid a firm push to lock it in place. It’s like giving your blender a reassuring hug, and it’ll be good to go.
- Use the Right Lid: Like keys to a lock, Ninja lids are specific to certain blenders. Using the wrong one leads to that blinking red light. So, make sure you’ve got the right lid, and you’re all set.
- Secure the Blender Container: Attach the container to the base correctly by turning it until you hear a satisfying click. It’s the way your blender says, “I’m ready.” If you don’t, expect a red light.
- Overheating? Be Patient: If your Ninja’s power light blinks red due to overheating, unplug it, and give it a breather. It’ll cool down and be back in action soon.
- Clean Your Blender: Sometimes, food bits can block the connection. Keep it clean, like a mini spa day for your blender, and you won’t face this hiccup.
So, next time your Ninja Blender’s light blinks red and won’t turn on, remember these simple steps, and you’ll have it whirling and blending in no time.
Recommended Read: Why Is My Blender Not Blending? A 4-Step Guide To Diagnose and Fix Blending Issues
Final Words
You’re all set to become a blending ninja! Follow these steps, and you’ll wield your Ninja Blender like a pro. Keep it clean, secure the parts, set your speed, and hit that power button. Your blending adventure begins now. So, blend away, and may your concoctions be deliciously legendary!


Leave a Reply