Blending up your favorite smoothie only to have it dripping all over the countertop is no way to start the day. As a longtime Ninja blender owner, I’ve dealt with my fair share of Ninja blender leaks. But with some troubleshooting and maintenance, you can stop leaks in their tracks.
In this guide, I’ll draw from my experience to help you diagnose and fix the most common causes of Ninja blender leaking from bottom or anywhere. We’ll cover everything from worn gaskets and lid issues to overfilled containers and sneaky blockages that cause overflows. You’ll learn how to spot problems before they create a smoothie sea on your countertop. I’ll also provide tips to prevent leaks, so you can blend to your heart’s content without the mess.
Common Causes of Ninja Blender Leaks
Let’s look at the most common reasons why your blender leaks so that you can keep your mixing times clean and flavorful. Let’s find these sneaky bad guys and learn how to easily beat them!
Blender leaks due to overfilling the jar
One of the primary culprits of your Ninja Blender Leaks is overfilling the blender cup. Remember that Most blender jars have a max-fill line which is known as the “80% full” rule. So, when you cross that line, it’s like expecting a clown car to fit an entire circus troupe – it’s just not happening without a few laughs. So, keep it below that max-fill line, and your Ninja Blender will blend happily ever after.
Next up is the lid. Picture it as a superhero’s mask – it needs to be securely in place for the hero to do their thing. If you leave even a tiny gap, your blender’s inner superhero might try to escape, causing leakage. Make sure that lid is on tightly, and you’re good to go.
And here’s a fun tidbit – your Ninja Blender isn’t a fan of being overworked. Just like us after a long day, it needs a breather. If you’re blending for an extended period, it might start leaking black liquid or something. Give it a short break, and it’ll be ready to rock again.
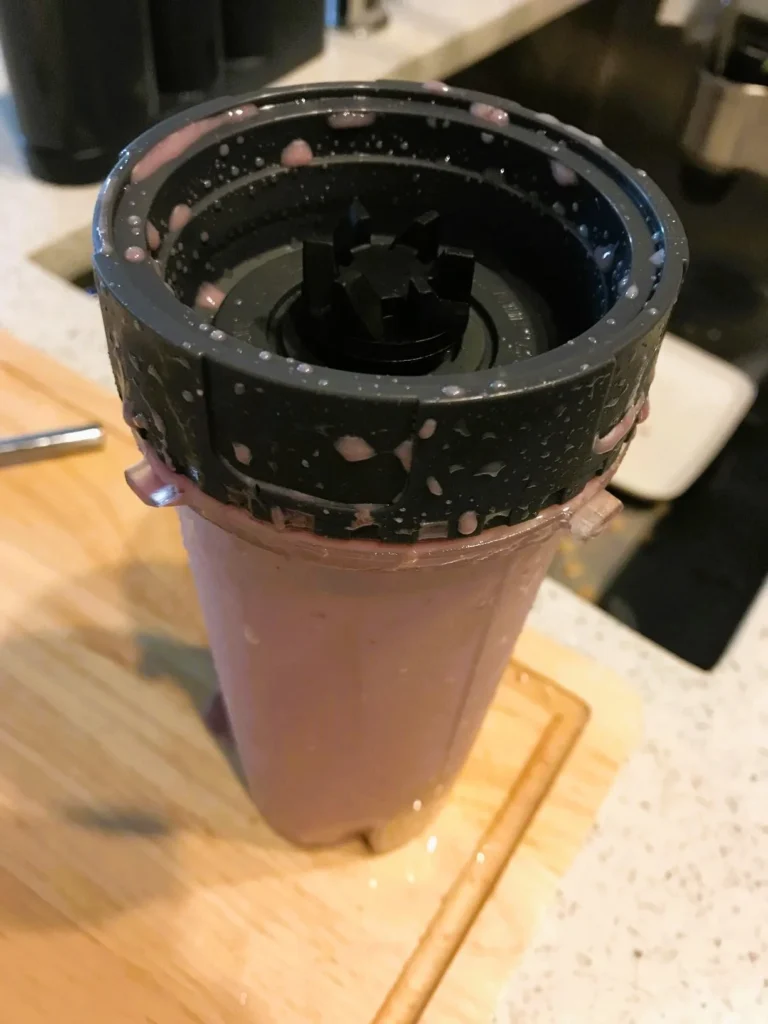
Blender leakage caused by improper placement on the base
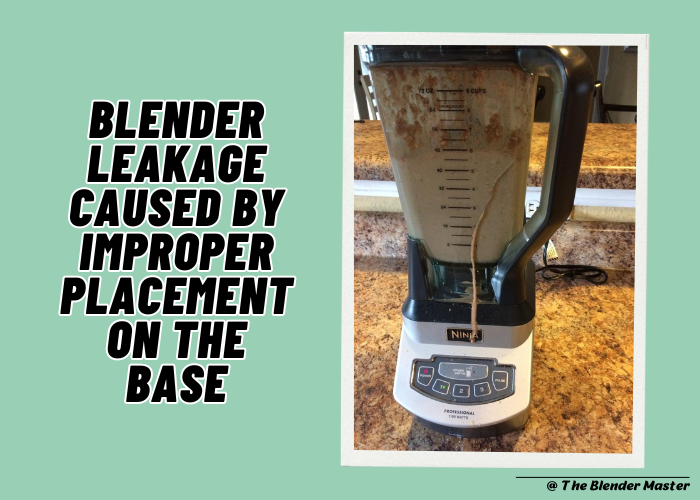
Sometimes, in the rush to get that smoothie fix, we might not pay attention to how we place our Ninja Blender on the base. It’s like trying to fit a square peg into a round hole – it just won’t work. When your blender isn’t snug on its base, it can lead to leaks, and we don’t want that, do we?
So, what’s the solution? Well, it’s as easy as making sure your shoes are on the right feet. When you’re placing your Ninja Blender on the base, ensure that it’s aligned correctly and securely seated. It’s like giving your blender a cozy little home, and when it feels comfy, it’ll blend without any leaky drama.
A little extra tip for you – always make sure you hear that satisfying “click” when you place the jar on the base. It’s like the blender’s way of saying, “I’m ready to rock!” Once you’ve got that secure connection, you’re good to blend, and your Ninja Blender will be as happy as a clam.
Blender leaks due to a cracked or damaged pitcher or blade assembly
Your blender pitcher and blade assembly are like the dynamic duo of the blending world. They work hand in hand to create those fantastic smoothies, but just like any superhero, they can encounter some wear and tear over time. When your pitcher or blade assembly gets cracked or damaged, that’s when leaks start to crash the blending party.
But fret not, because we’ve got a solution that’s simpler than telling a knock-knock joke. First, give your blender pitcher and blade assembly a good once-over. Check for any cracks or signs of damage. If you spot any, don’t panic! You can usually find replacement parts from the manufacturer or online stores faster than you can find your car keys in a messy purse.
Once you’ve got your shiny new pitcher and blade assembly, it’s like getting a fresh set of tires on your car – your blender will run like it’s brand new. No more leaks, and you’ll be back to blending up delicious concoctions like a pro.
Blender leaks stemming from a loose or worn-out rubber gasket
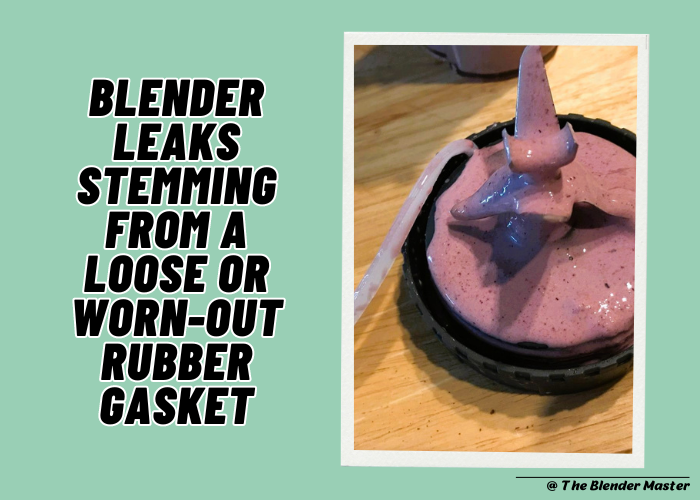
Let’s take a look at a sneaky culprit: the gasket. It’s like searching for your keys when they’re right in your pocket–sometimes the solution is closer than you think.
So, here’s the lowdown on gaskets. They’re like the unsung heroes of your blender, ensuring that everything stays in its place and doesn’t turn your kitchen into a splash zone. But over time, these little rubbery wonders can get tired, worn out, or even a bit loose. When that happens, leaks can start to sneak their way out.
But hey, no need to panic; we’ve got an easy fix for you. Check your gasket. It’s like giving your blender a little health check-up. If it’s loose or looks a bit worse for wear, just tighten it up or buy a new one, like changing the batteries in a remote. It’s a quick and simple fix, and your blender will thank you for it.
You might be wondering how to do this, and that’s a valid question. Most blenders come with a user-friendly manual, and it’s your go-to friend in times like these. It’ll show you how to tighten or replace the gasket, and it’s easier than folding a fitted sheet – I promise!
FURTHER READING: How To Sharpen Ninja Blender Blades: Learn And Sharpen
How to Fix Ninja Blender Leaks: Few Points to Keep in Mind
Let’s turn those frowns upside down and get your blender back to its leak-free, smoothie-blending glory.
Fixing Ninja Blender leaks is a breeze when you keep these simple points in mind.
FURTHER READING: How To Turn On Ninja Blender: Learn and Blend
How to Tighten or Replace the Ninja Blender Gasket?
I have uncovered some common causes of why Ninja Blender is leaking, and now it’s time to dive into how to fix these issues. Let’s turn those frowns upside down and get your Ninja Blender back to its leak-free, smoothie-blending glory.
Tightening the gasket:
Replacing the gasket:
If the gasket is beyond saving, you can easily replace it. You can find replacement gaskets at your local store or online. They’re like the superhero costumes for your blender sidekick!
FURTHER READING: How To Clean Ninja Blender: A Simple But Handful Guide
Final Words
I’ve gone from tackling those pesky Ninja Blender leaks to becoming the master of the blending universe. From understanding the reasons behind those leaks, like the loose gaskets and cracked pitchers, to discovering the ninja moves to fix them, we’ve covered it all.
Remember, your Ninja Blender is your kitchen sidekick, always ready to whip up a delightful smoothie, a creamy soup, or a yummy sauce. By keeping these simple tips in mind, such as securing the lid, avoiding overfilling, and providing a cozy fit on the base, you’ll be enjoying leak-free blending adventures in no time.
So go ahead, blend with confidence, and embrace the joy of creating delicious concoctions. Let your Ninja Blender be the superhero it’s meant to be, and you are the master of the kitchen. Here’s to many more leak-free blending escapades!

Leave a Reply