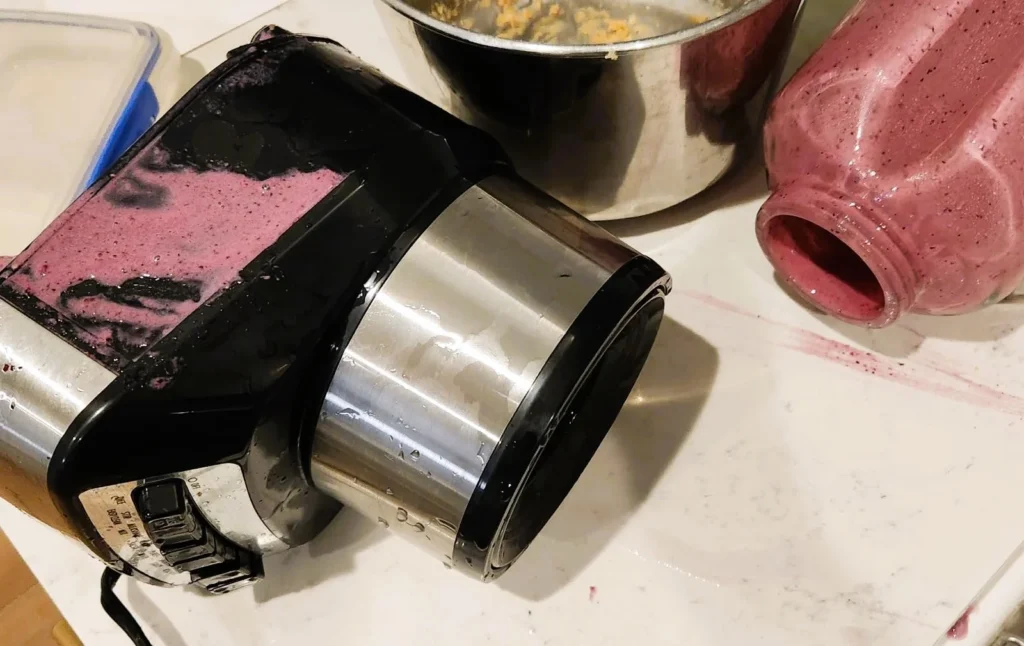
Oh no, you walk into the kitchen and find a puddle of liquid on the counter under your blender. As you inspect closer, you realize it’s leaking from the bottom seal or anywhere. A blender leaking can be annoying and messy to clean up, but don’t worry, this issue can likely be fixed with some simple troubleshooting.
First, let’s cover some potential reasons why your blender may be leaking in the first place. The most common culprits tend to be:
- A Worn or Damaged Seal.
- Blockages in the seal.
- Cracked Container.
- Loose Parts.
- or Even Just Overfilled Contents.
Blenders contain powerful motors and blades that generate intense friction and pressure, so wear and tear over time is inevitable. My blender started leaking last year after decades of almost daily use to whip up morning smoothies. Don’t feel bad if yours starts leaking at some point too!
The good news is, while a leaking blender may be frustrating, this repair is usually an easy DIY job. In most cases, you can fix it yourself with basic tools and inexpensive replacement parts. I’ll walk you through some troubleshooting tips to diagnose the exact cause, as well as how to fix some of the most common leaking issues. Just a little maintenance and TLC can get your blender back to blending again in no time!
Troubleshooting a Leaky Blender: 5 Possible Causes and Solutions
#1 A worn or damaged seal
We’ve all been there – you go to blend up your morning smoothie and notice leaking of black liquid dripping from the bottom of the blender. Annoying, right? If you see leaks coming from the rubber seal around the blender jar, it likely means the seal is either worn out or has a small tear. I once ignored minor dripping for months before the seal finally gave out completely, leaving me with a smoothie explosion all over the counter. Refrain from making my mistake – replace the seal as soon as leaks appear to save yourself a future mess. Replacement seals are inexpensive and easy to install.
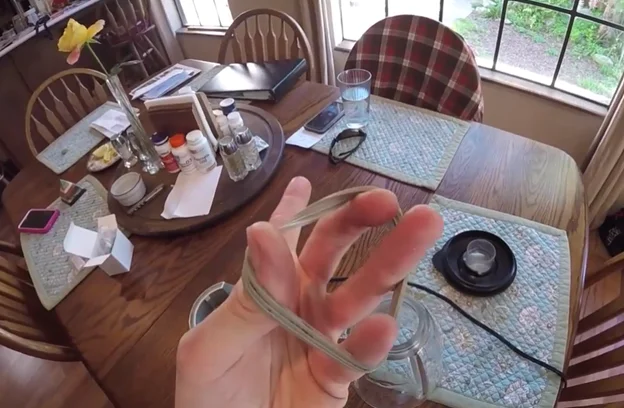
Solution: Replace the worn or damaged seal
If you notice leaks coming from around the blender’s rubber seal, it’s probably time to replace it. Luckily, replacing the seal on most blenders is a quick DIY fix. First, carefully pry off the old seal using a butter knife or small screwdriver. Make sure to remove any leftover adhesive or residue. Then apply the new seal in place and press down firmly. You may need to let it set overnight for the adhesive to fully bond. That’s it! I’ve found seal kits with multiple replacements for around $10 on Amazon. Much cheaper than a new blender.
Further Reading: 5 Best Blender For Smoothie Bowls Of 2023
#2 Blockages in the seal
A clogged or blocked seal can also lead to a leaky blender. Over time, small particles of food can get lodged under the seal, which prevents it from sealing correctly. I learned this hard after blending a kale smoothie loaded with seeds and pulp. The tiny fragments accumulated under the seal and obstructed it from closing tightly. The solution?
Carefully clean around the seal after each use to remove any debris. For tough buildup, gently lift the seal and scrub underneath with a small brush. A tiny seal maintenance goes a long way in preventing leaks.
Solution: Unclog debris in the seal
To clear out any food particles or gunk trapped under the seal, start by removing it completely. Carefully pry it off with a flat tool. Then take a small brush or toothpick to gently dislodge the debris underneath. You can also flush the area with warm water. Make sure to completely dry before reattaching the seal. Press it firmly in place and do a test blend to ensure a tight fit. Stay vigilant about wiping around the seal after each use to prevent future clogs.
#3 Cracked container
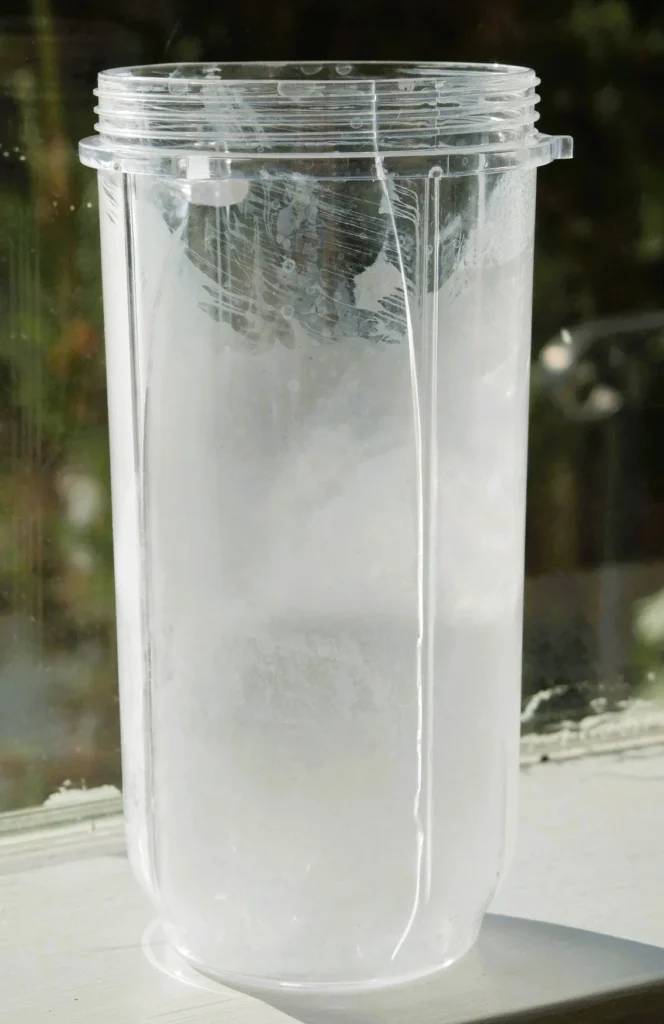
Sudden cracks or fractures in your blender’s plastic or glass jar can cause leaks even with a properly functioning seal. I discovered this when my blender carafe cracked after falling out of the dishwasher-cleaning. Even though the seal itself was fine, the crack allowed liquid to bypass the seal and drip out. Cracks typically mean it’s time to replace the container. Luckily, most blender manufacturers sell replacement parts on their websites or on Amazon.
Pro tip: Inspect your jar periodically for cracks to detect them early.
Solution: Replace a cracked blender container
If the leaks are coming from a crack in your blender jar, replacement is likely your only fix. Check the manufacturer’s website first – they often sell replacement jars. You can also find lots of options on Amazon for most major blender brands. Make sure to note the capacity, material, and jar shape before purchasing a new one. Take care when removing the old jar to avoid shards of cracked glass. Then simply attach the new container by following the blender assembly instructions.
#4 Loose parts
Over time, the clamping mechanisms and bolts that hold your blender together can loosen up, leaving gaps for leaks. I learned this when I noticed drips coming from the blender’s base, not the jar. Tightening the bolts with a wrench and ensuring the jar was locked correctly into the base fixed it.
What is the moral of the story? Give your blender a quick inspection for loose parts every now and then to prevent leaks. Tighten any fasteners that wiggle free.
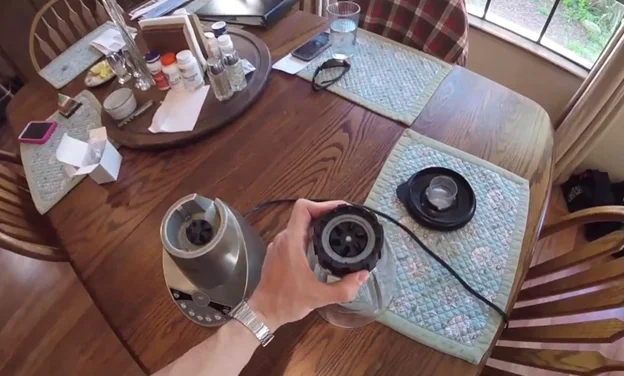
Solution: Tighten loose parts and bolts
Try tightening any loose fasteners on the base of the blender first. Carefully tighten the bolts using an adjustable wrench or pliers. Overtightening can crack the housing, so apply gentle force. You may need to hold the nut on the inside while tightening the exterior bolt. Also ensure the jar is locked properly into the base before blending. Press it into place and you should hear an audible click.
#5 Overfilled contents
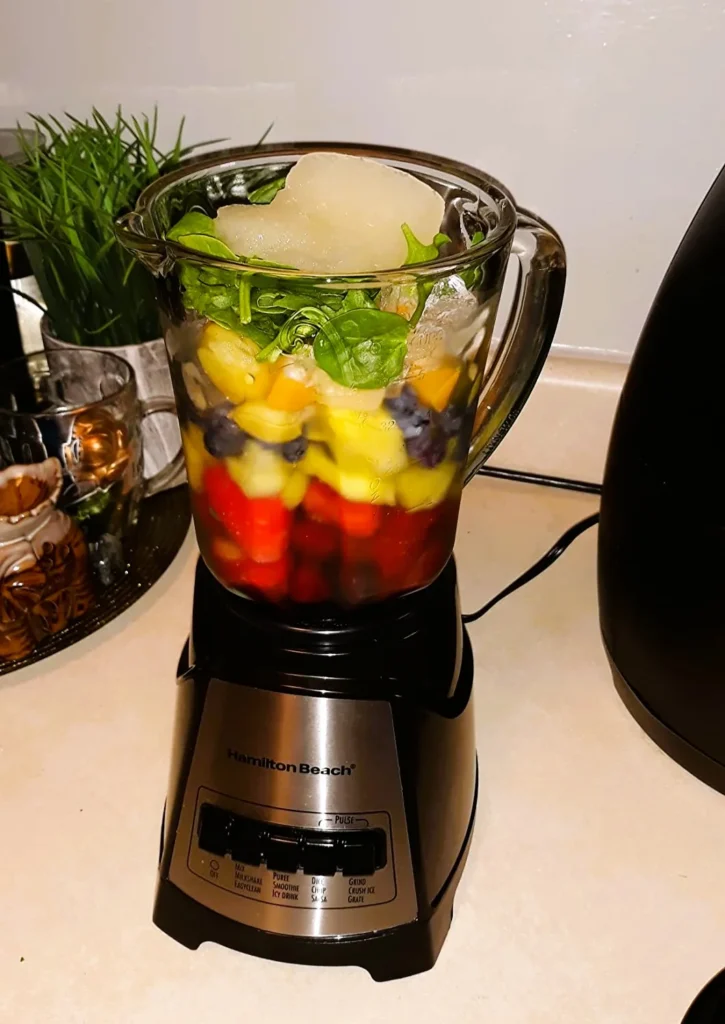
And finally, one of the simplest explanations for a leaky blender – overfilling it! I’m guilty of getting smoothie-happy and tossing in too many ingredients. When you overload the blender, liquid can get pushed past the seals when blending. The fix is easy: Remember not to surpass the blender’s max capacity. Leaving a little headspace in the jar can prevent messy overflows.
These tips will help you tackle any leaky blender issues that pop up! Let me know if any of these causes were behind your blender troubles. You can stop those annoying drips and spills with some awareness and DIY maintenance.
Solution: Don’t overfill the blender
To avoid messy overflows, keep an eye on your max capacity when adding ingredients. Most blender jars have fill lines etched into the container – stay below this for best results. Leaving some empty space allows the food to move freely while blending. If you do overfill, remove a few ingredients before putting on the lid. A little trial and error helps you learn the ideal fill level.
Let me know if you need any clarification on these DIY blender fixes. With some simple hands-on maintenance, you can stop those annoying leaks for good. Here’s to splatter-free blending!
Recommended Reading: Why Is My Blender Not Blending? A 4-Step Guide To Diagnose and Fix Blending Issues
Blender Leaking FAQs
Is it normal for a blender to leak?
A leaky blender can put a damper on your smoothie plans, but you can likely fix the issue with some troubleshooting. Inspect the seal for damage, clear debris clogs, and replace cracked containers. Also, ensure all loose parts are tightened and avoid overfilling. With basic maintenance and occasional repairs, your blender can continue churning out drinks for years leak-free.
When should I replace my blender?
I’ve had my fair share of messy blender mishaps, so I’m happy to share these tips. Taking a few minutes to diagnose and address any leaks can save you major cleanups down the road. Get your blender humming smoothly again with a thorough inspection and DIY handiwork. Let me know if any tricky leaks persist – I love sharing solutions. Now, get blending your favorite recipes drip-free!
Final Words: Wrap Up
A leaky blender can put a damper on your smoothie plans, but you can likely fix the issue with some troubleshooting. Inspect the seal for damage, clear debris clogs, and replace cracked containers. Also, ensure all loose parts are tightened and avoid overfilling. With basic maintenance and occasional repairs, your blender can continue churning out drinks for years leak-free.
I’ve had my fair share of messy blender mishaps, so I’m happy to share these tips. Taking a few minutes to diagnose and address any leaks can save you major cleanups down the road. Get your blender humming smoothly again with a thorough inspection and DIY handiwork. Let me know if any tricky leaks persist – I love sharing solutions. Now, get blending your favorite recipes drip-free!

Leave a Reply